Your Step by Step Guide (2021)
Required: Before you can activate the $10k per month Google Ad Grant for your nonprofit, you need to have an active Google for Nonprofits account. If you don’t have an active Google for Nonprofits account follow our step by step guide:
How To: Activate Your Google for Nonprofits Account
Step 1: Login to your Google for Nonprofits account
Login here: Google for Nonprofits

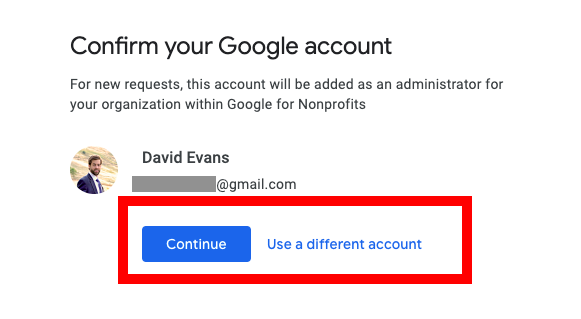
Step 2: Confirm you are logging in with the right email address
You must log in with the email address you used to register your nonprofit with Google for Nonprofits.
If you know you have a Google for Nonprofits account but you aren’t able to log in, it is probably because you’re trying to log in with the wrong email account.
If you’re using the Google Chrome web browser, your login will default to your active Chrome profile. You can choose “Use a different account” to switch your email.
Step 3: Make sure you are logged in to the right Google for Nonprofits account
If you are working with multiple nonprofits, you may have access to more than one Google for Nonprofit account. In this case, you need to make sure you select the right account to open – choose the “Activate products” option.
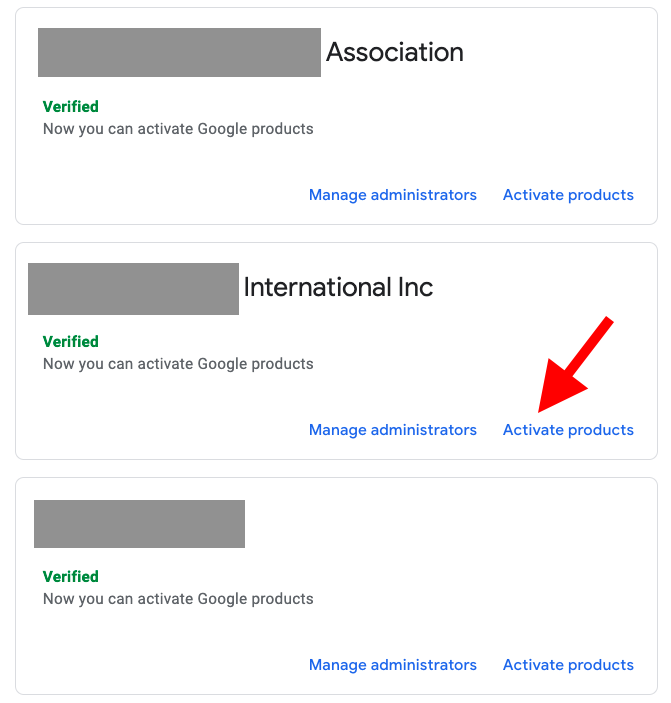
If you see the name of your organization at the top of the screen when you log in, you’re in the right place.
When you are at the right organization you should see something like this:
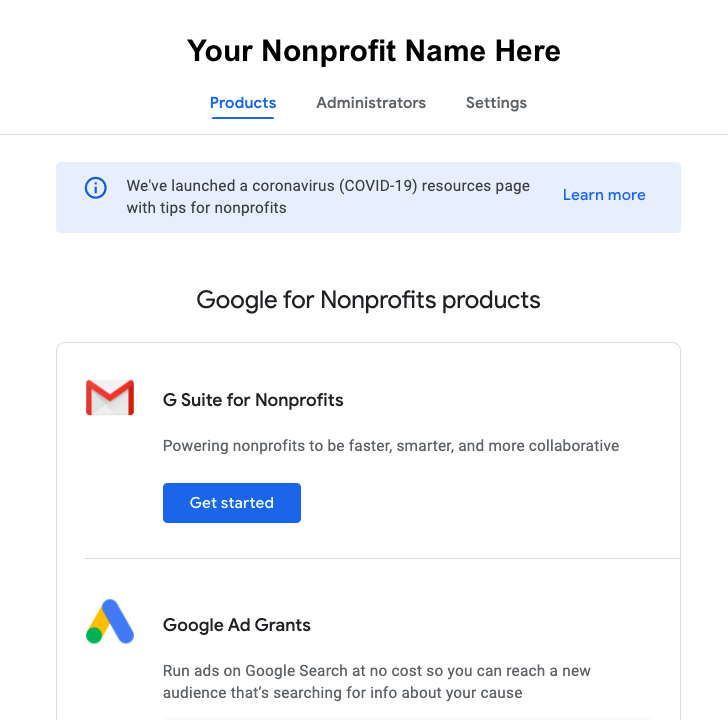
Step 4: Navigate to the Google Ad Grants section and select “Get Started”
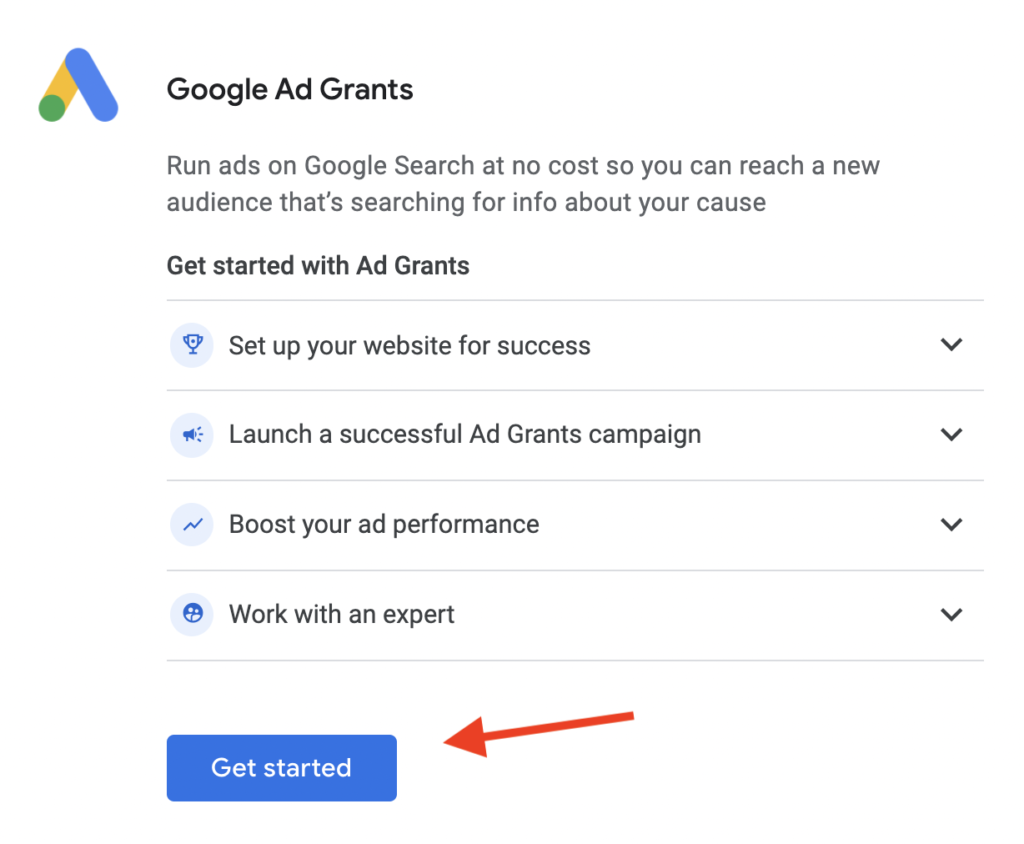
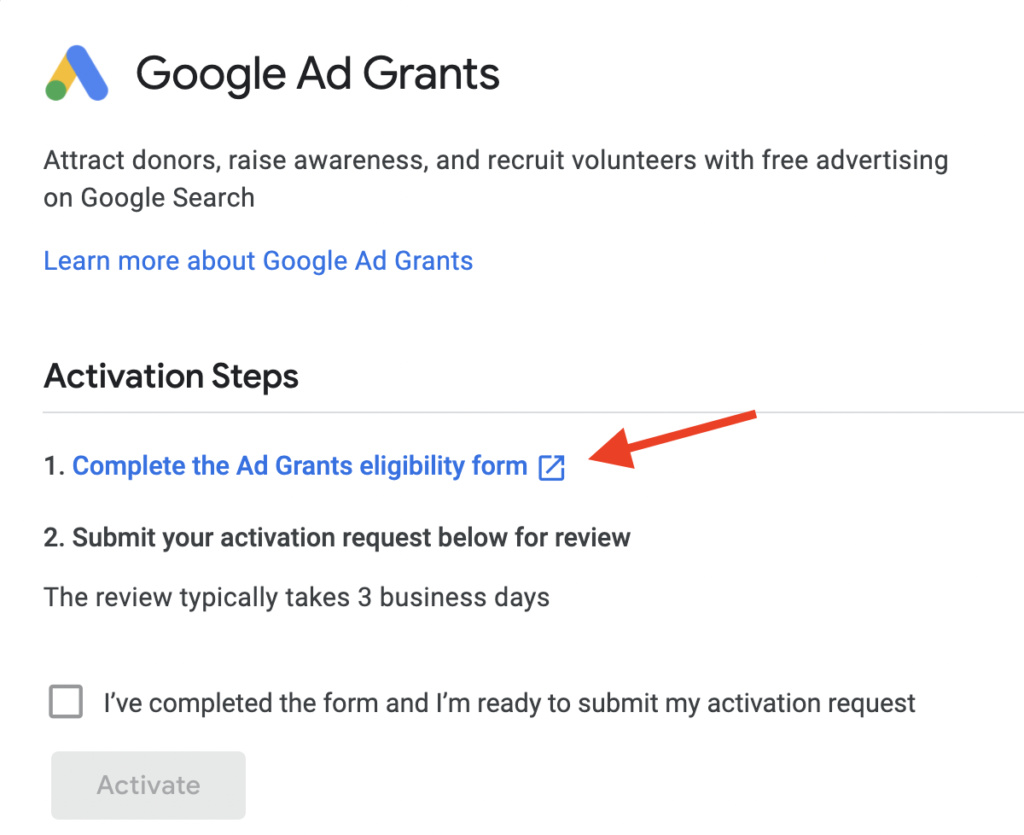
Step 5: Complete the Ad Grants eligibility form
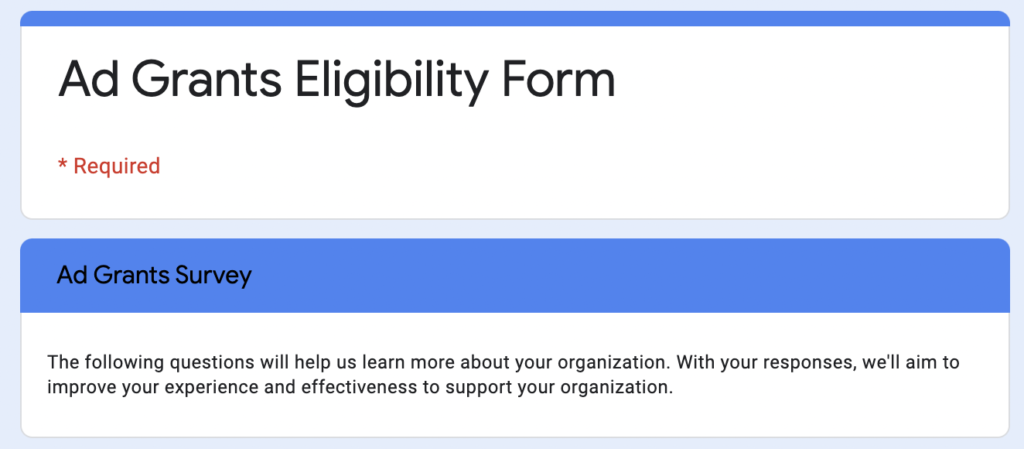
This form is simply a survey to help Google understand your needs as a nonprofit. You may not know all of the answers; that’s okay. Answer to the best of your ability.
Step 6: Take the “Training and Qualification Quiz”
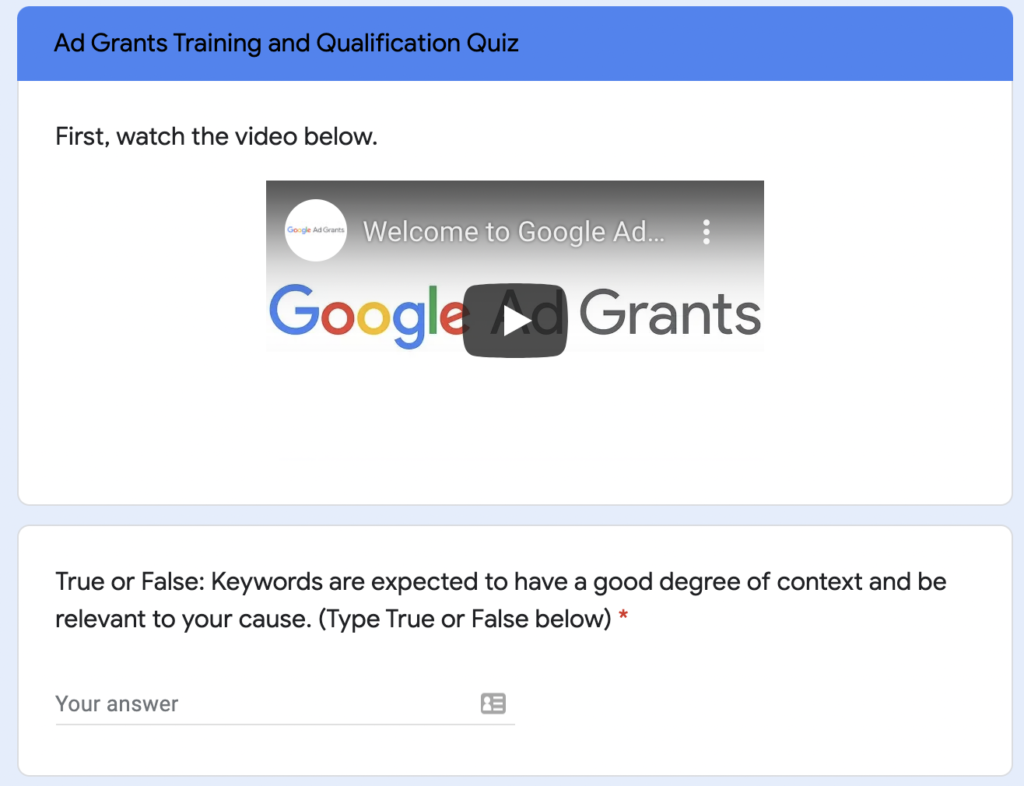
As part of the eligibility form, you will be asked to watch a video and answer a few questions about Google Ads.
This exercise will help you learn a little bit about Google Ads and the Ad Grant for Nonprofits.
Step 7: Return to Google for Nonprofits to complete your activation request
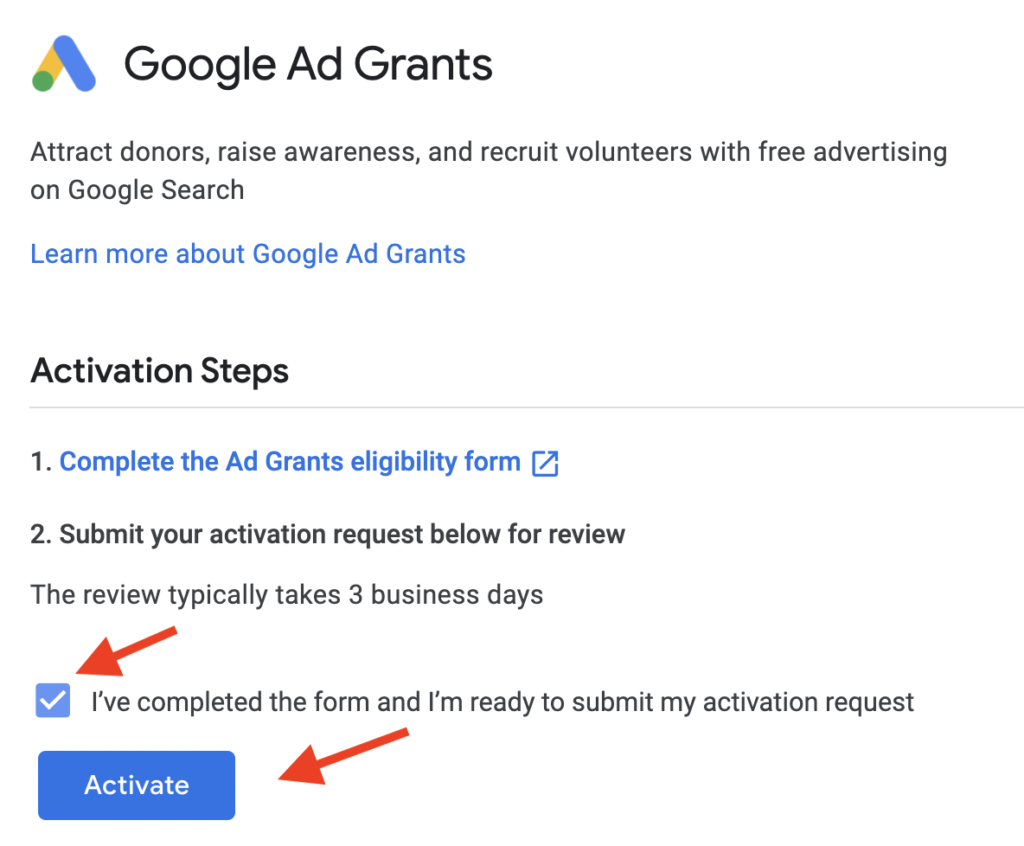
Return to Google for Nonprofits and check the box stating that you’ve completed the form.
Then select “Activate”.
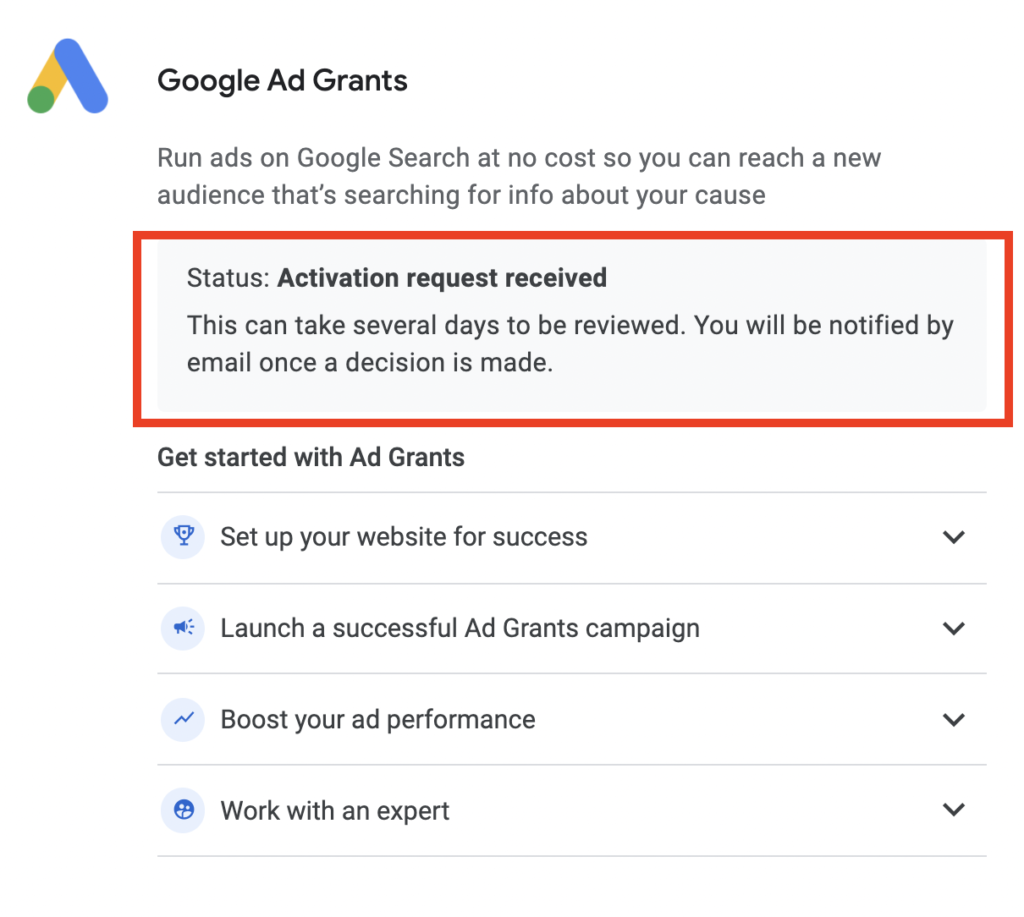
Step 8: Wait for activation request to be confirmed…
You’ll see that your activation request was received.
It can take 2-3 days for you to receive your confirmation email (it’s usually within 24hrs).
Once you get your get your confirmation email you take the last few steps.
Step 9: Follow instructions provided in your activation approval email
If you receive and email notifying you that you did not qualify, you will be provided with a link to review the requirements. After you make the necessary updates to your website, you can reapply.
Once you do qualify, you will receive multiple emails with instructions on how to activate your Google Ads account.

Follow the steps below:
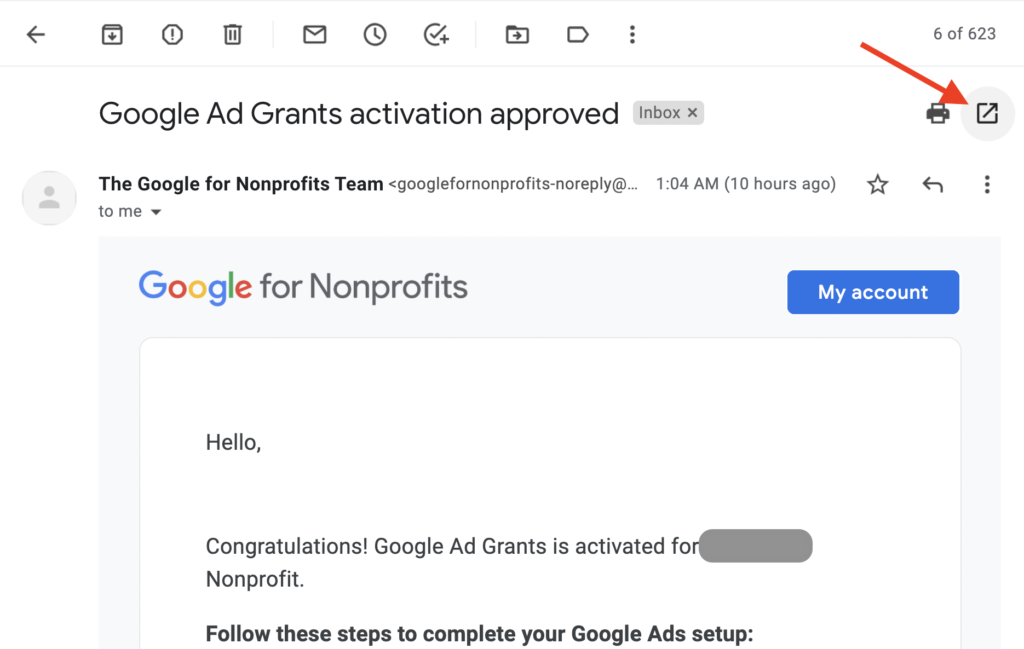
Step 9a: Open the email from “The Google for Nonp.”
Open the email with the subject line: “Google Ad Grants activation approved”
This email includes steps for you to take to activate your account and it references the other two emails.
To make these next steps a little easier, I recommend opening this email in a new tab so you can have both your email inbox and this email open in two separate tabs.
Next, go back to your email inbox.
Step 9b: Accept Google Ads account invitation from “googlegrants-support”
Open the email with the subject line: “You received an invitation to access your Google Ad Grant account“
This includes the customer ID of your new Google Ad account. Note this number for reference in case you have multiple Google Ad accounts and you need to be able to identify them. (If this is your only Google Ad account, no need to note this ID).
Click on ACCEPT INVITATION

This will bring you to Google Ads.
Click Continue.
You will then see the dashboard for your Google Ads account.
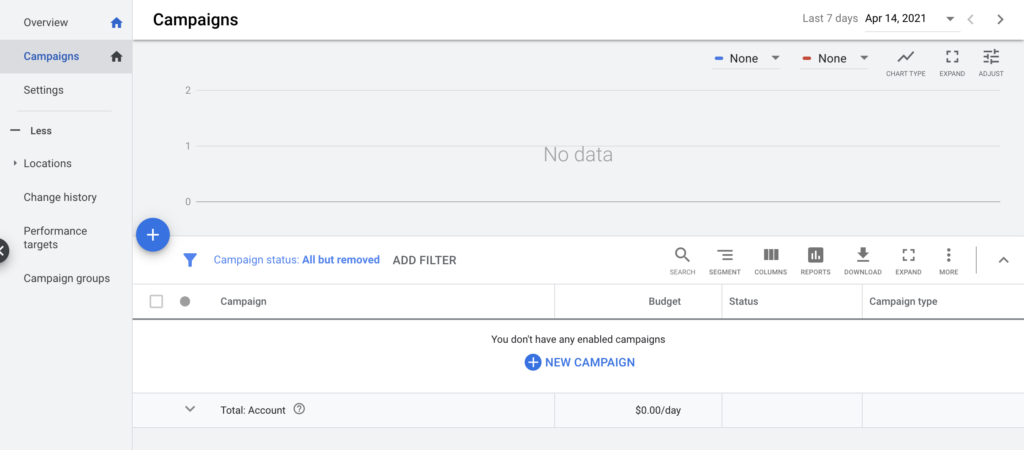
Before you explore the dashboard, I recommend you return to your inbox to complete your registration properly.
Step 9c: Open the email from “Google Payments”
Open the email with the subject line: “Action required for your Google Account”
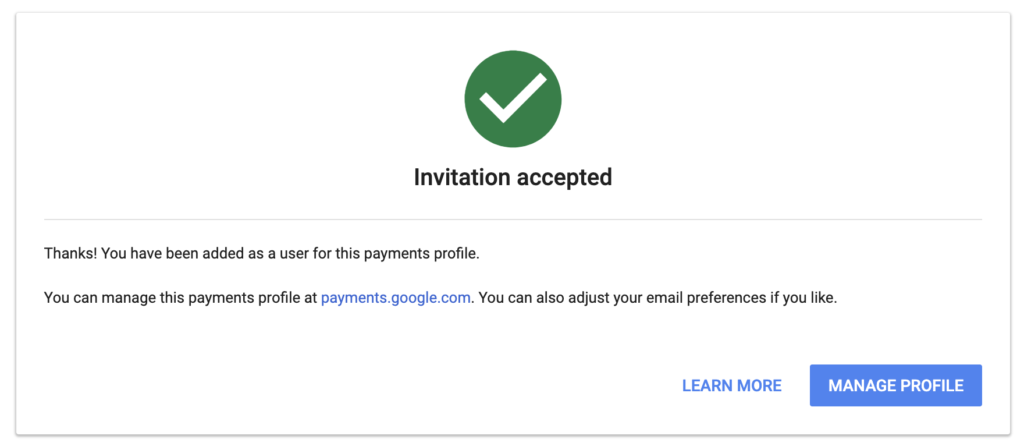
Click Accept.
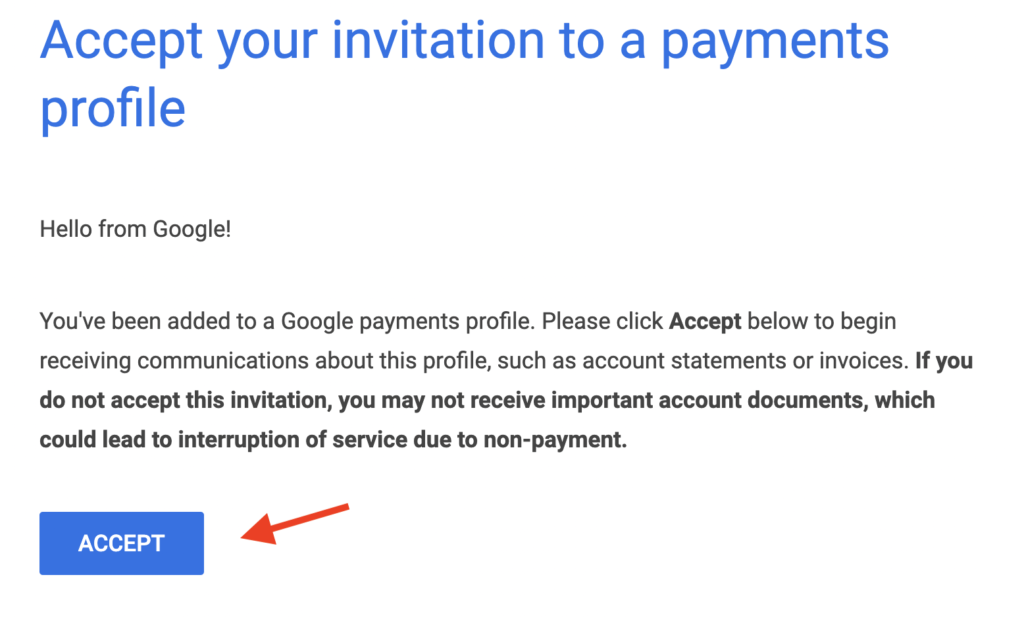
Don’t be alarmed about the notice for account statements and invoices. This is a formality.
- Google Ads sends you a monthly “statement” despite there being no charge for use of the $10k Ad Grant
- You will not be asked to enter any credit card or other payment information
- If you are ever prompted to enter payment information, you may have taken a wrong step along the way and you should start back at Step 9.
After accepting you can follow the two available links to learn more about the Google Ads billing profile or exit this window and proceed to the last step of the activation process.
Step 9d: Open the email from “The Google for Nonprofits Team“
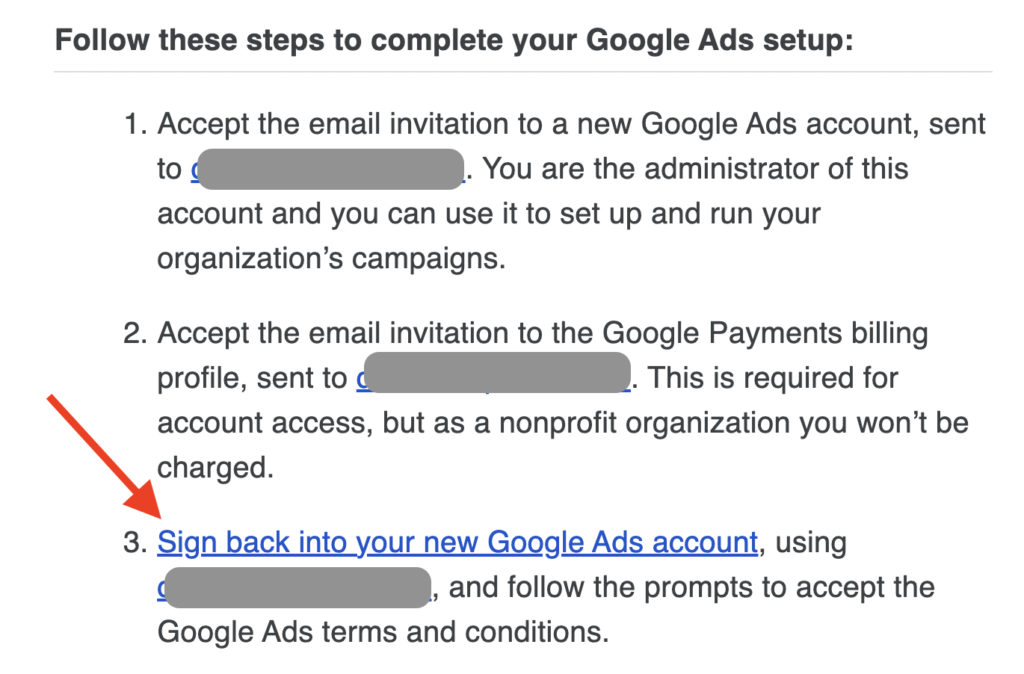
This is the email you previously opened in a new tab. It contains 3 steps for completing the Google Ads setup. In steps 9b and 9c you have already completed setup instructions #1 and #2 listed in this email.
Go to #3 and click the link to “Sign back into your new Google Ads account”
Sign in to Google Ads. You will be automatically signed-in through your Google account after clicking “Sign in”. Make sure the Google account you use to log in is the same account referenced in the confirmation email you received.

CONGRATULATIONS!
You’ve completed the activation of your Google Ad Grants.
Now it’s time for you to build your first campaigns and start growing awareness for your nonprofit!
You can always log in to your Google Ads account at: ads.google.com
