Your Step by Step Guide (2021)
This guide will walk you through the entire process, from start to finish, of activating the $10k per month Google Ad Grant for your nonprofit.
Easiest Guide Online – The only thing easier than following this guide, is having someone activate the Ad Grant for you.
Want a pro to get it done for you? Get Help.
The full process can take you as little as 30 minutes to complete. However, there are third party nonprofit verification steps from TechSoup and Google. You may need to wait 1-3 days between application steps while you wait for approvals. We recommend you bookmark this page so if you do need to come back you can pick up right where you left off.
Overview of Steps
Part 1: Register Your Nonprofit with TechSoup
Part 2: Activate Google for Nonprofits Account
Part 3: Activate Your Google Ad Grant
Part 1: Register Your Nonprofit with TechSoup
If your nonprofit is already registered with TechSoup, you can skip to Part 2.
To complete this step you will need the following information:
- Official name of your nonprofit
- Website
- Proof of 501(c)3 status – usually your EIN
Step 1: Navigate to TechSoup
Navigate to: The TechSoup Website
Step 2: Start application process
Select “Join” to start the process of creating a TechSoup account.

Step 3: Complete application process
You will be asked to create an account.
You will then be asked to provide some information about your nonprofit to verify your nonprofit status.
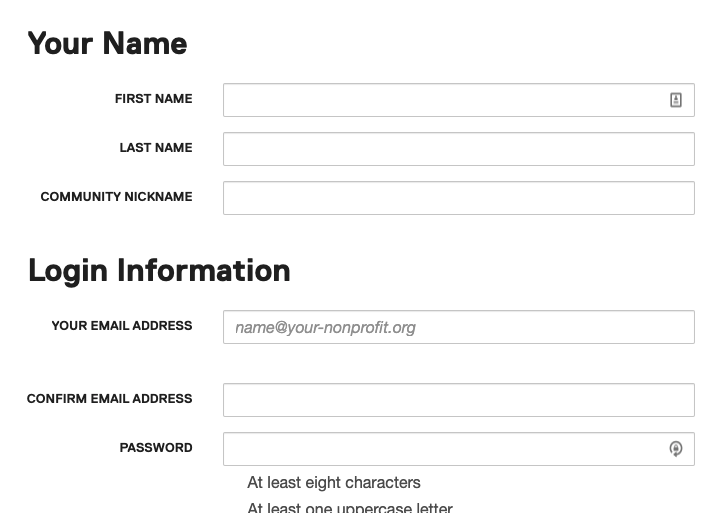
TechSoup Application Form
Step 4: Follow application and email verification prompts
Complete your TechSoup registration by following the steps as prompted.
At the end of this process you should be able to log in to your TechSoup account. You will need some information from your TechSoup account to complete your Google Ad Grant application.
Part 2: Activate Google for Nonprofits
Google for Nonprofits provides several tools you can utilize to grow your nonprofit.
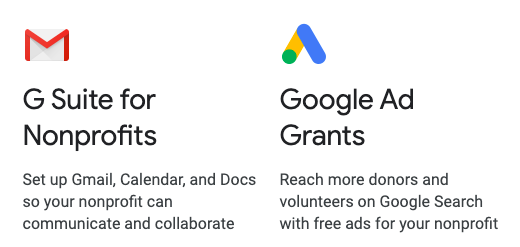
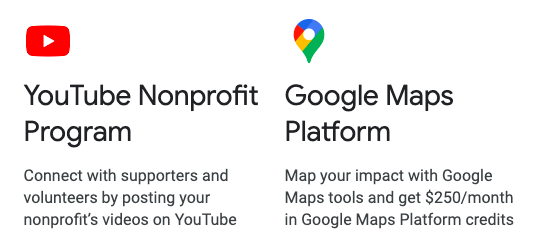
This guide will only focus on the Google Ad Grant.
You can get more information about other Google for Nonprofit tools here.
Step 1 – Sign up (or login) to Google for Nonprofits
Note: These steps will walk you through the Google for Nonprofits signup process. If you are already registered you can skip to Part 3.
If you haven’t already, you will need to sign up for a google for nonprofits account.
Google uses TechSoup to verify your nonprofit status, so you’ll need to complete Part 1 before proceeding here.
Navigate Here: Google for Nonprofits

Tips:
- Use a reliable email address you have access to
- You don’t need to use your nonprofit email
- I recommend using a gmail email if you have one
- Take a note of the email you used to register, you’ll need it later
- You can always add your other emails and team members as Google for Nonprofit admins later
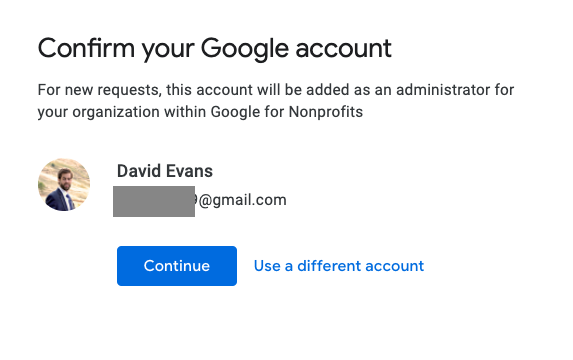
Step 2: Register with a valid email
Make sure you register with an email account you have access to and can remember.
Tip: Make a note of the email you used so you don’t get confused next time you need to login.
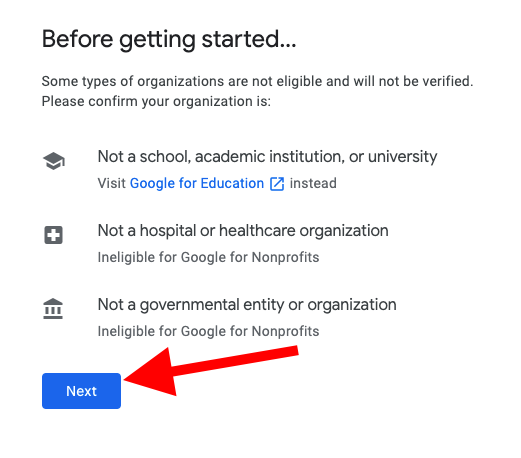
Step 3: Confirm you meet the basic criteria
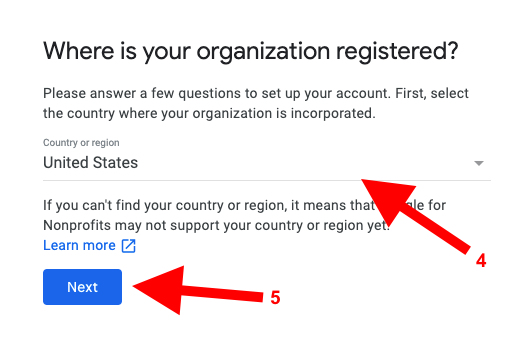
Steps 4 & 5: Select where your organization is registered, then select Next to continue
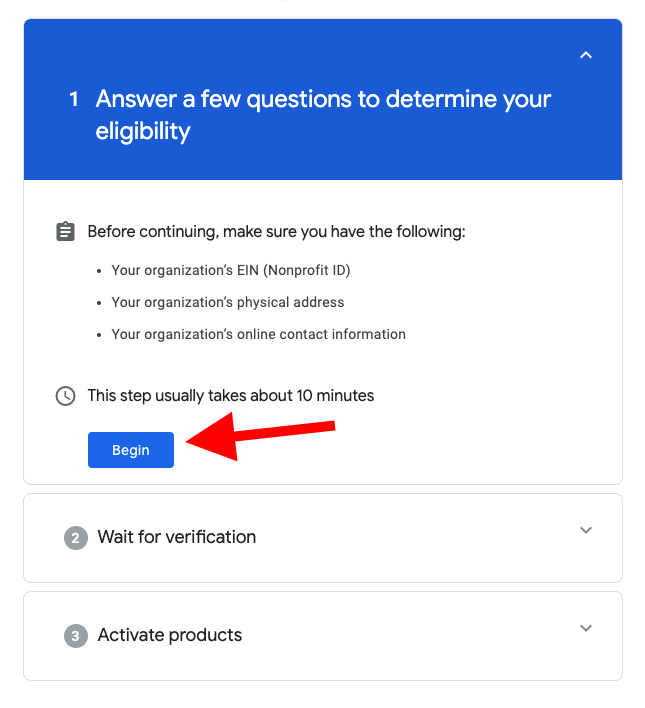
Step 6: Click “Begin” to start eligibility requirement steps
Step 7: Select “Yes, I already have one”
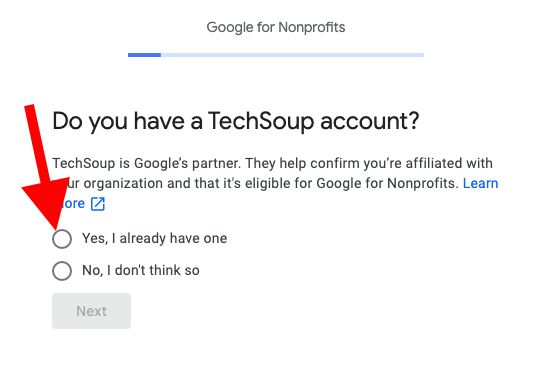
You will be prompted with a notification about how to verify by using your existing TechSoup account.
Select “Next” to continue to your final step.

Step 8: Submit your validation token from TechSoup (see sub-steps)
Step 8a: Login to TechSoup
Navigate to: The TechSoup Website
Login with the credentials you used to create a TechSoup account in Part 1.

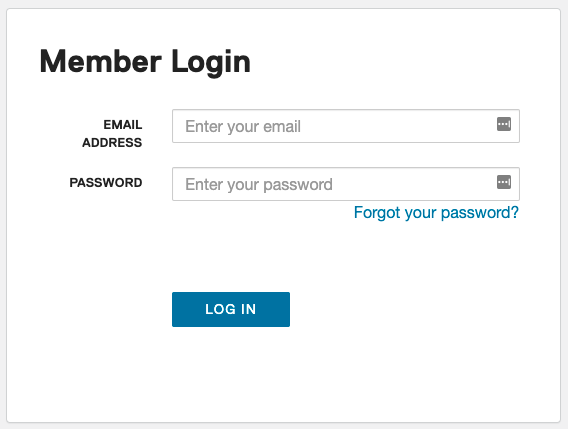
Step 8b: Navigate to the “your account” section of your TechSoup dashboard

Step 8c: In the drop down select “YOUR ACCOUNT”

Step 8d: Navigate to “Validation Tokens” in the lower menu bar

Step 8e: Select “Google for Nonprofits” from the list of available tokens
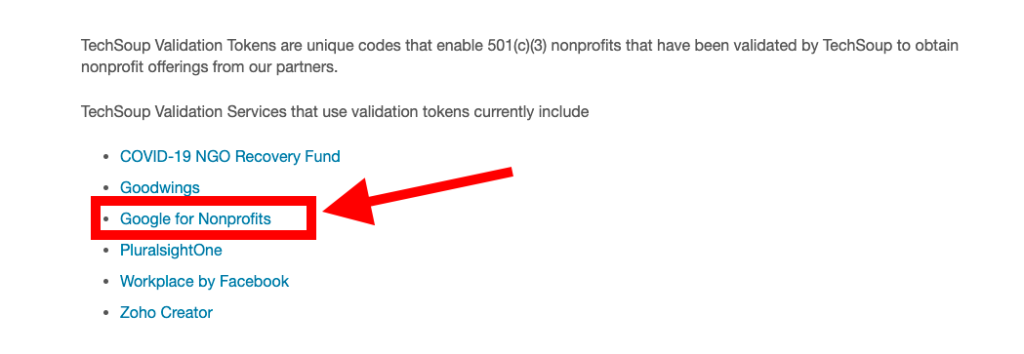
Step 8f: If prompted, input your nonprofit information again
This information may be needed to properly generate your Google for Nonprofit token.
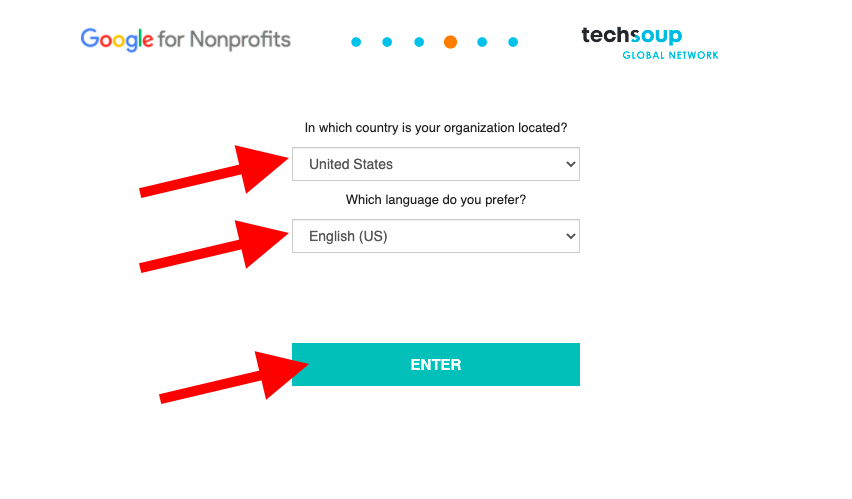
You may be prompted to sign in again and to verify your information. If so, follow these steps.
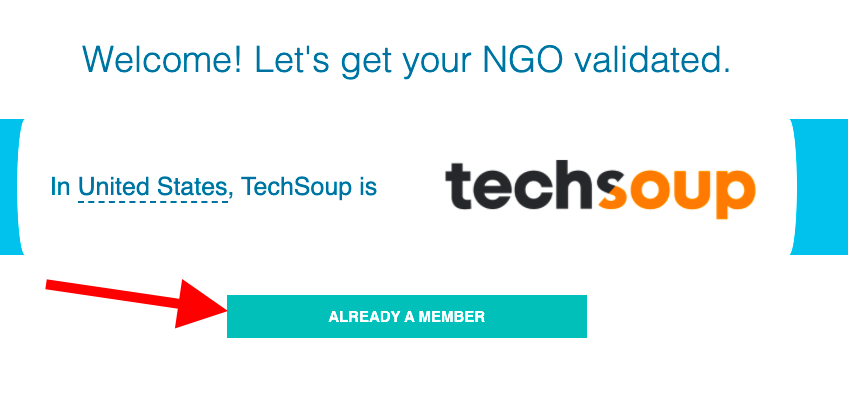
Step 8g: Copy the validation token provided to you
You can use the “Copy” button to copy your validation token.
Tip: Paste your token into a text document to make sure you can access it later (if you’re not able to complete the next steps at this time)
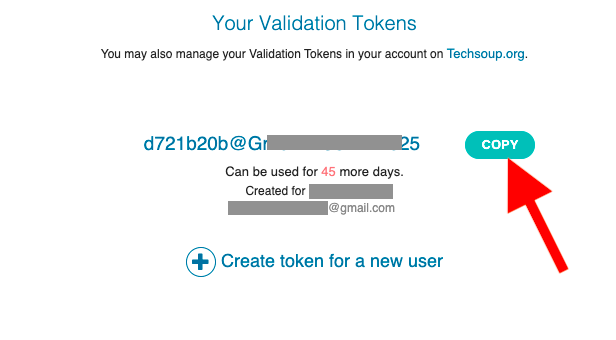
Nice work! You’ve got your validation token and you’re ready for the last step of Part 2!
Step 9: Enter your TechSoup validation token into your Google for Nonprofits application
Navigate back to your Google for Nonprofits application and paste your validation token in the appropriate area. Then select “Next”
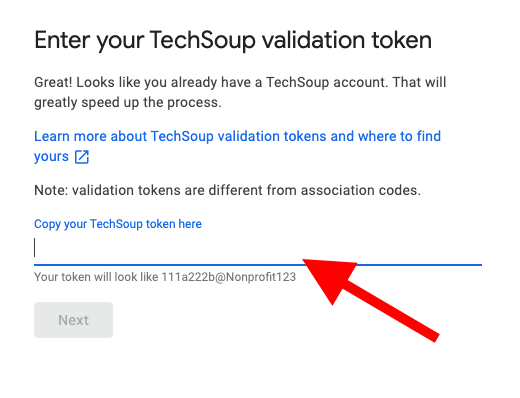
Step 10: Follow the final steps to confirm your request
You’ll be asked to confirm your Name, Job Title, and Email.
You’ll also need to confirm a few points to ensure you are a representative of your organization and that you agree to follow Google’s policy.
Upon your submission you may receive a confirmation stating your request is under review.
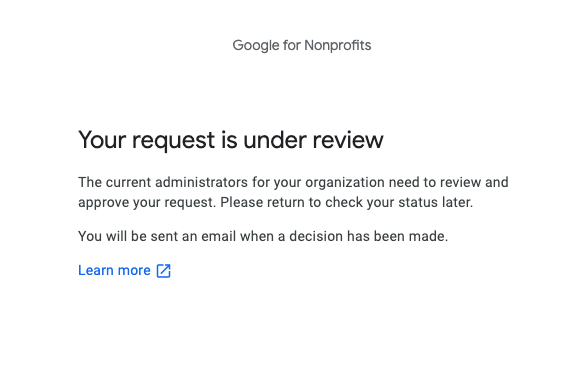
You should receive an email confirming Google received your submission immediately.
Within 2-3 days you should receive an email notifying you of your approval and access to Google for Nonprofits.
Note: If you don’t get an email within 3 days, make sure you’re checking the same email you use to register. If you still can find your email, you can reach out to Google’s support team here for help.
Step 11: Confirm access via email and login to Google for Nonprofits!
You will need to login with the same email you used in your Google for Nonprofits application.
Your confirmation email will look like this:
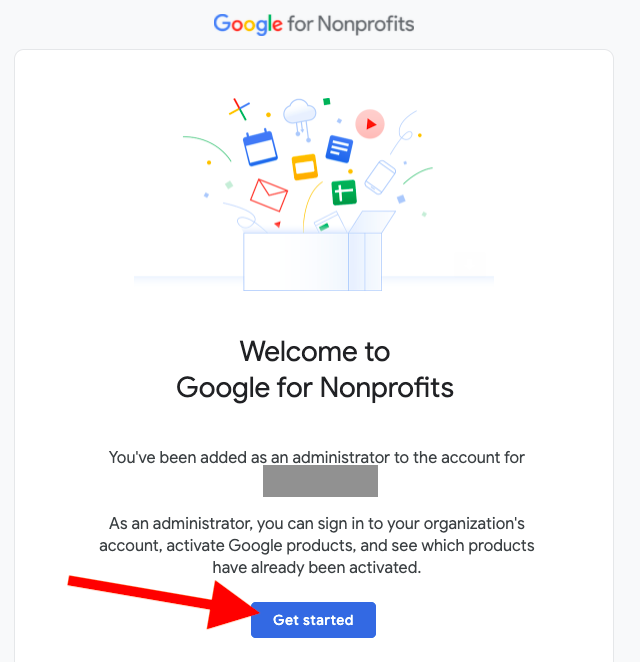
Part 3: Activate Your Google Ad Grant
The application part is done!
Time to activate your Ad Grant.
Follow our step by step guide to activating the Google Ad Grant here.
